Showing posts with label Production. Show all posts

Saturday, 9 May 2015

Editing - Know Me From - Stormzy (DONE)

I decided to edit my music video on the software iMovie that comes on the Macbook Pro. Below are screen shots of how I edited it and different effects that I used.


This screen shots shows me selecting a clip from the clip bank and inserting it onto the platform where I can edit the clips.


Above shows me changing the speed of the cup to customised. This can either speed up the shot or slow it down. In my music video I have done both fast forwarding as well as slow motion.


This screen shot shows where I have jump cut the shot. This means I split the shot into sections and deleted certain sections to make it look like it jumps. 


This is the word I created in Photoshop to put over the top of my footage. It reads 'where' which is a repeated song lyric, and this was put into iMovie by originally making the image green and white, and when choosing the effect 'Green/blue screen' the footage shows through.


Finally this is called a split shot where I have layered shots over each other. I have used two shots of the same as this looks effective but have made them split. This clip is also in slow motion.
Effects and Techniques Used (DONE)

The main effect that I have used in my music video is the image that goes over the video with the text 'WHERE.' I created this on photoshop and have made a blog post on how it was created. When inserting it into iMovie, i had to change the image so that it fit the screen instead of the effect 'Ken Burns' which zooms into the image. I had to change the screen to 'Green/Blue Screen' which allows the white of the image to be apparent and the green disappear, allowing the video to play through the image.

Another effect I used was fast forward. I edited the footage I had taken, the establishing shot, and fast forwarded so that it was quicker. I also reversed the fast forwarded footage so that it looked like my shot was going backwards. Following this I also used a slow motion effect when I was going through the centre of my town. This is easily applied using a button in iMovie, which is how the fast forward was made too.

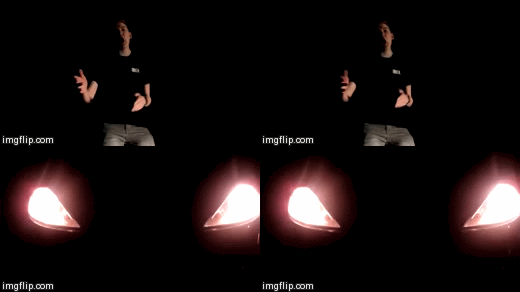
I also used an effect where I placed two videos over the top of each other to make it look like I was on the screen twice. I did this on iMovie and it looks professional as both shots are the same so have the same black background. I also used a split screen where I am again appearing on the screen twice but the footage is different and makes the video look as if it is split.

Finally I used a flip effect which flipped the footage and made me appear on the other third to what it was originally filmed on.

Posters - Know Me From - Stormzy (DONE)


Digipak - Know Me From - Stormzy (DONE)


Recycled Shots from Worst Behaviour - Know Me From -Stormzy (DONE)

The following shots are those which I can use from my previous video - Worst Behaviour, for my new video - Know Me From - Stormzy.

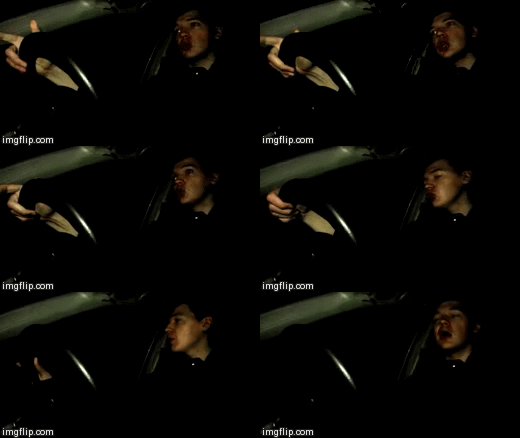
- Driving in car
- Graffiti
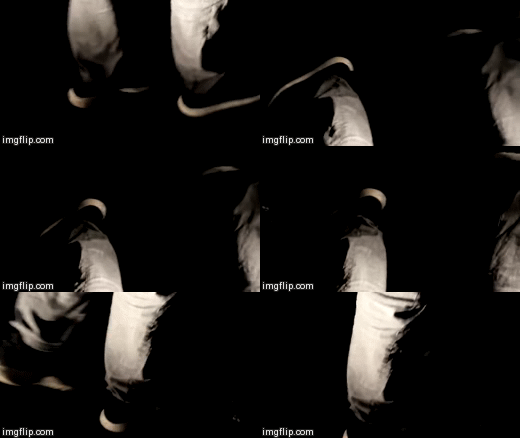
- Close up feet
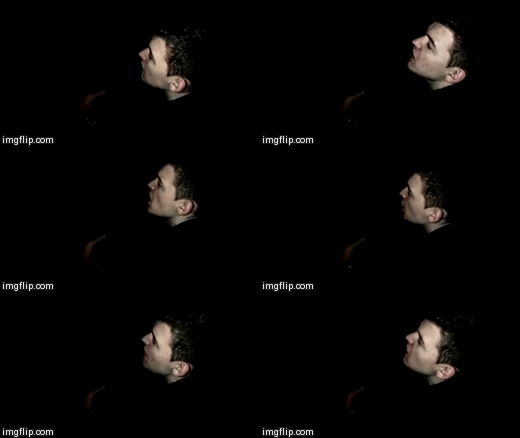
- Close up back of head
- Crouchy car shot
- Car down drive
- Driving in car (Backseat)
- Noddy head
- Pan inc. car
- Close up of watch
- Car light
- Double car light
- Street lights
- Slow motion pan.

Below are the shots that need re-filming.

- Bypass shot (mid shot)
- Shot next to car tyre (high angle)
- Car shot, from dashboard (mid shot)
- Bypass shot (low angle)
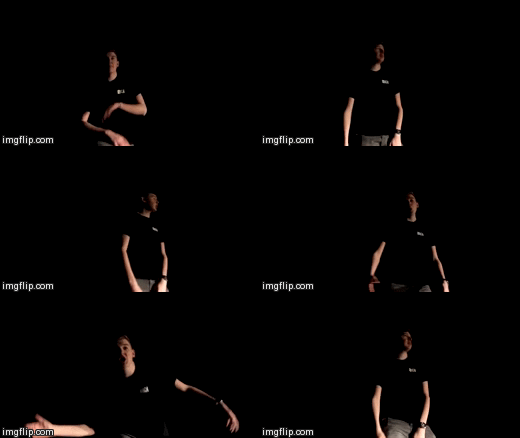
- Cowboy shot
- Close up of stereo

Making New Over Image 'Where' (DONE)

Like in the previous video 'Worst Behaviour,' I decided I wanted to create an effect similar to the first video. Instead of 'Worst' appearing over the footage, I decided to choose 'Where' as this is a reoccurring word. I created a white background and chose the font from the previous video, and added the text. This is the final image that I can add to iMovie platform. 


Making Text Images (DONE)


Having done that I decided to go to the opposite end of the spectrum and have a white background which I think works very well with the video.
But after making this and applying it to the video, I found that, because what was in the transparent letters was dark, the black background meant that the audience wouldn't have been able to see what was inside the letters.
I first tried the word with a black outline that would lay over the video itself.
As you can see I have made my text green so that it would be transparent on screen. After deciding to use this tool I made sure the text I used was the same font as all of my ancillary texts such as my poster and digipak, to keep the house style continue.
The green screen till allows the user, in this case myself, to effectively use a real green screen without having to put up a background. If anything green appears on the screen it will be transparent.
Having used iMovie before I knew the most practical way of making part of an image disappear was to use the green screen tool.
After considering a few options such as GIMP and MSPaint, I decided to use adobes photoshop as I was lucky enough to have this programe readily available in school and at home.

Editing My Video (DONE)

Sped up clip

Split screen

Text overlay

Slow motion clip

Jump cuts

My Costumes (DONE)

After being inspired from watching other artists from the rap genre music videos, I decided on the costumes I wanted to wear in my video.

-White and Black Nike Trainers
-Black Ralph Lauren Coat
-Black Casual Tshirt
-Grey Jeans
-Michael Kors Watch

The colour black is one of the most prominent colours I will be wearing. The colour black connotes strength and authority, but can also give an aggressive feeling which suits the language within the music.

My Equipment (DONE)

The equipment I used was:


  • Olympus Digital Camera
I used this to film as it is a good quality camera which would produce a good picture when on a larger screen. It also can film in focus and has many different settings on it.
  • 32GB Memory Card
This is inserted into the camera and used to save the footage onto it. This can then be placed into the Macbook Pro which will read the information on it. 
  • Macbook Pro (editing)
I am using the Macbook Pro to edit on as it has iMovie on it which will my music video look professional.
  • iPhone 5S
This will be used incase the camera was to run out of charge. This will also be used to film shots that look better on the iPhone than the camera. It will also be used to play the song during singing so the lip syncing is correct. 
  • USB Cable
The USB will be used to transfer the footage from the iPhone onto the Macbook allowing me to edit it in iMovie.
  • Torch
The torch will be used as we are filming in the dark and where there is no streetlamps the torch will be used as a spotlight to make sure I am seen in the shot. 

Equipment List (DONE)

Digital Video Camera - this will be used to film the majority, if not all, of our music video.


Tripods - this will be used to film shots only containing one specific area. We can use the tripod for a more steady shot, as long as the focus doesn't leave the shot.

Microphones - we will only use microphones if we aren't pleased with the audio that is provided by the camera. If the cameras audio isn't satisfactory, yeh microphone will give a better sound quality to parts of the music video that needs diagetic sound. 

Lighting - the use of lighting will simply make particular shots more effective and more pleasing to the eye. 

Apple Mac computer - the Apple Mac computer will sometimes be used for research, but the main purpose of it will be to edit our music video. 

Mobile phone - mobile phones will be used to gather information on the move and upload posts to the blog through the 'blogger' app. 

Monday, 27 April 2015

Posters - Worst Behaviour (DONE)


Why I Chose The Rap Genre (DONE)

I chose the rap genre because I have been a keep listener and viewer of music/music videos for several years. This means that I have a plethora of songs in my head that I know could be turned into a music video effectively because they contain certain aspects such as change in tempo, aggressiveness, dark settings and costumes that I feel would be easily achieved by myself. This allows me to work around these songs with ideas in my head regarding what shots, editing and font I could use. Having watched a vast amount of these videos, I can definitely recognise what conventions the rap genre has, examples being cars, woman, groups of men, dark settings and foul language. Also, some rap videos are made purposefully on a low budget, to really amplify how good the song if rather than the flashy video to go with it, which also allows me to compare my videos with others on a low budget and see what techniques they have used to  make the video without having to buy absurdly expensive props, like luxury cars  or jewellery. To conclude then, I chose the rap genre because it allows me to do the video to the best possible standard within my means and budget, paired with  my knowledge for the conventions of the genre I feel I can make a very good video.

Tuesday, 14 April 2015

Gifs Of Shots - Worst Behaviour (DONE)


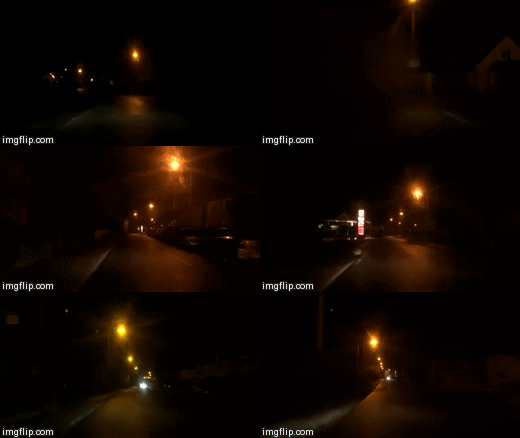
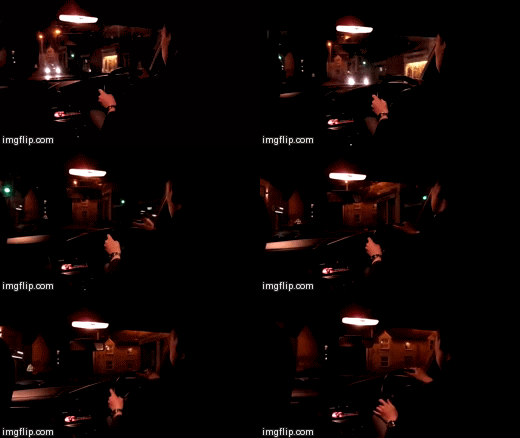
This is my first shot, it is a combination of a long shot and an establishing shot, as the shot takes you through the setting that the video is set in. I filmed this shot by having a friend hold a camera whilst I drove the car down the road.


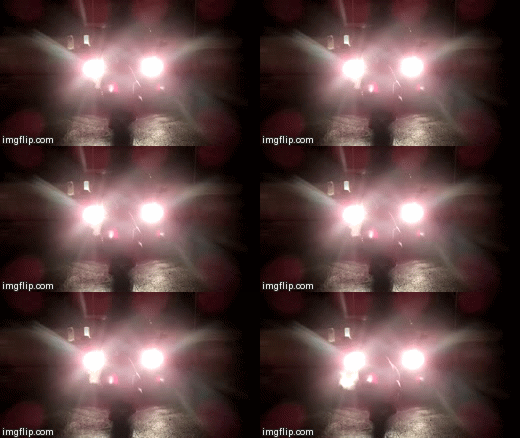
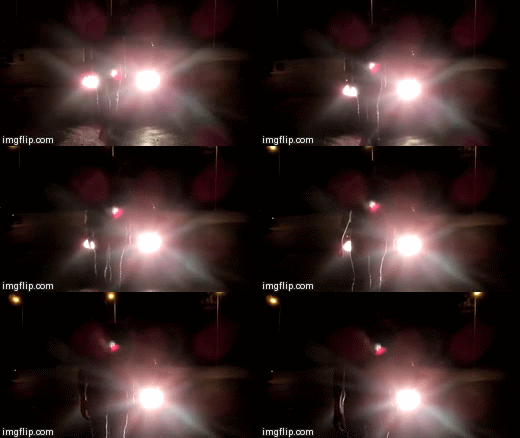
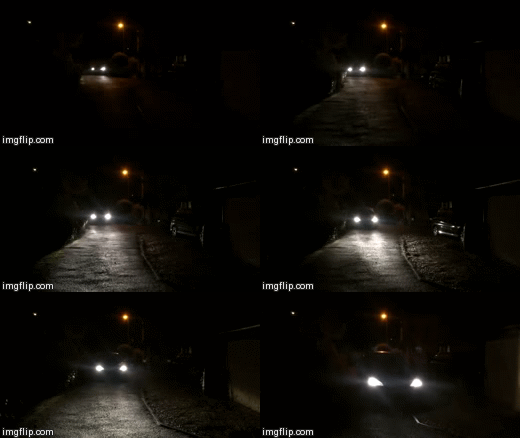
This is my second shot, this is a shot that is lit up by car headlights, the same car that was used to make the first shot. This is a mid shot because it doesn't show the whole of the actors body.


This shot is the third shot, as all my shots are in chronological order. Again this is a mid shot as the whole of the actor does not feature but it is not close enough to be classified as a close up. This shot features the car yet again.


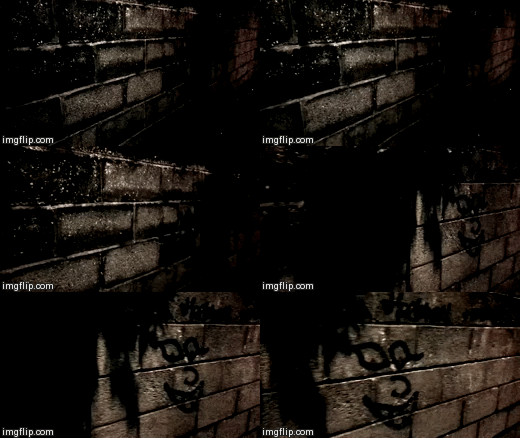
The next shot is a mid shot, this was taken in an alleyway where there are multiple pieces of graffiti. I thought graffiti suited the genre as it has featured in videos such as Graffiti Mentality by Emotionz.


The next shot is another mid shot which also features the car, which is a staple prop in this video. The original video for Drakes Worst Behaviour features cars, not only this but the majority of his videos do, including: Started from the bottom, The Motto and On One, which he features in.


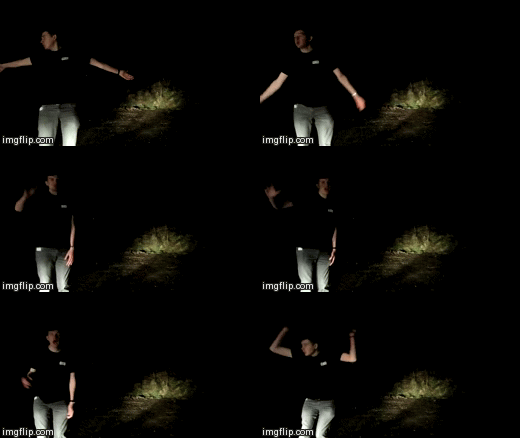
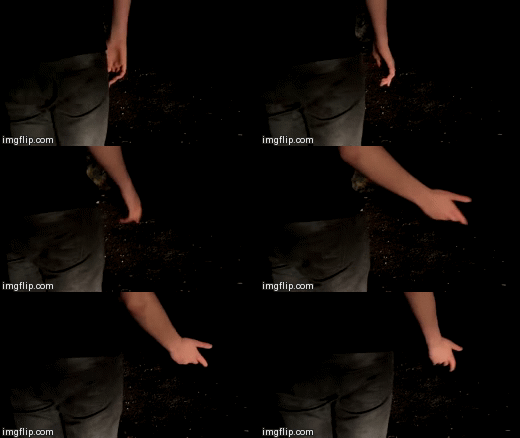
This shot is a close up of the actors feet, which I felt was needed because not only had I not shown the bottom half of the actor but his costume, focusing on the nike shoes in particular as drake has mentioned nike in songs such as 10 bands on his latest mixtape.


The next shot is a low angle shot to re-iterate the actors dominance over the audience. This is common place in my genre and is again used in Drake video The Motto.


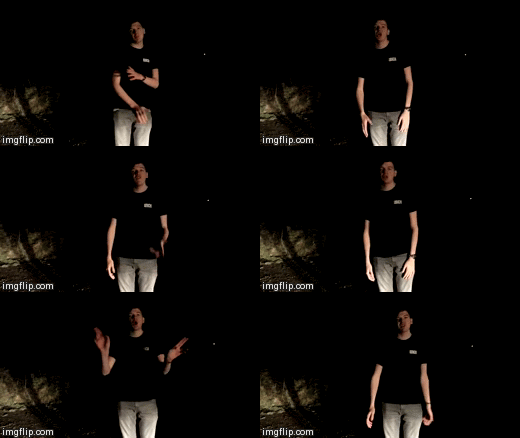
The next shot features my actor lip syncing in yet another mid shot, I filmed this as a back up in case I ran out of footage, as it wasn't my most meaningful shot, but I think it does the job.


This is quite a short shot as it is jump cut in time with the song. I think this shot is good as it hides the actors identity and features the car. This is the first long shot including my actor.


Again a long shot involving the car, this time driving into a residential area and jump cut to fit the song.


The next shot is unique and I've not really seen this used in the genre, but I felt it suited the video. This shot is called the Cowboy Shot.


This shot is another over the shoulder shot this time showing more of the car. Similar shots are used in Drake's - The Motto.


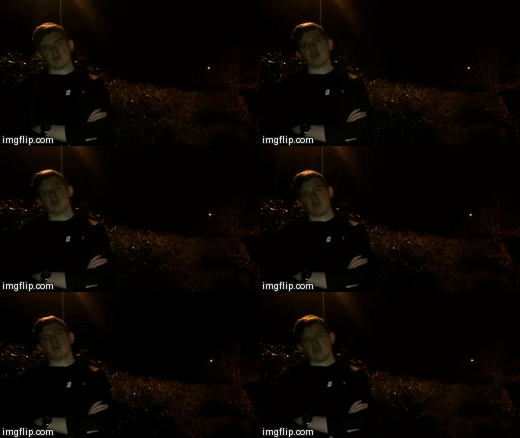
The next shot is a mid shot just showing the actor nodding, no lip syncing in this case just to the audience can get a better look at the actor.


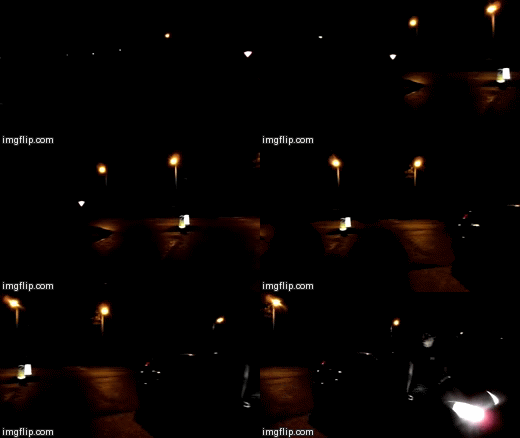
The following shot is a pan from the road to the actor leaning on his car lit up by his own phone torch. This is the first pan in the video and has an example of the text overlay on certain parts on the song.


The next shot is similar to a previous shot nearer the start if the video but the actor is off centre, to make the viewer curious as to what might happen next to him. It also follows the rule of thirds.


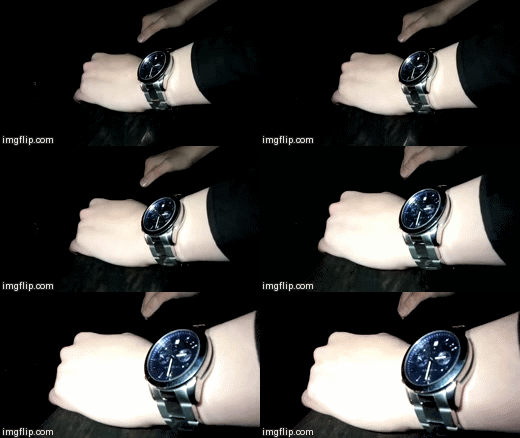
A zoomed in close up follows this shot and features the actors watch as it is the only thing that we featured in the video which could be perceived as bling, because the message off the song doesn't really require that.


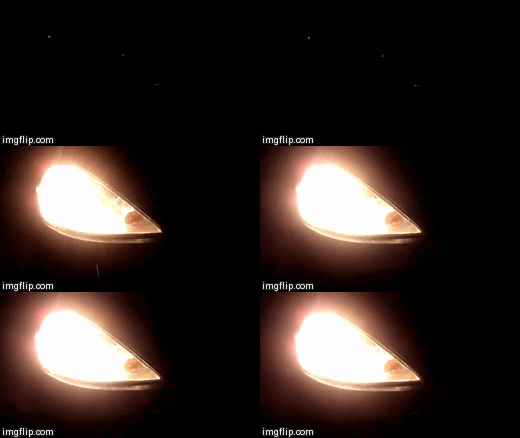
The following shot is a close up on the car light turning on and is vaguely based on the rule of thirds.


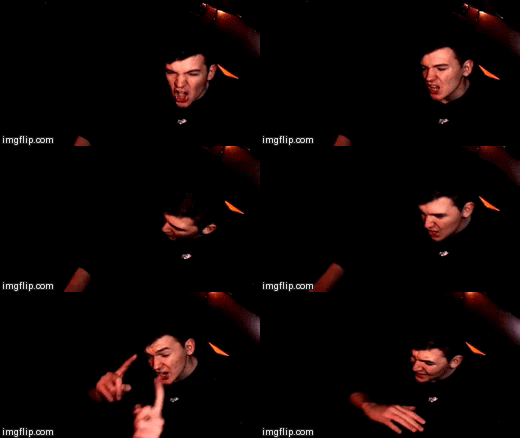
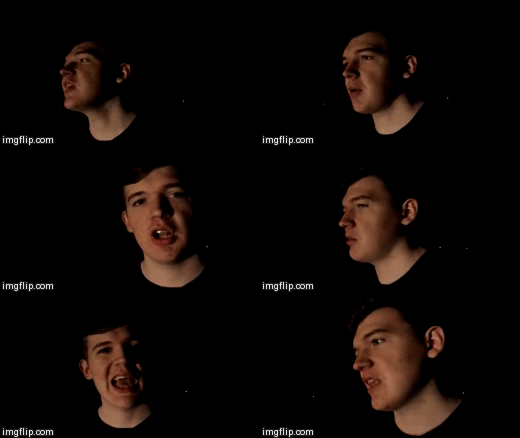
This is the first close up of the actor when he is lip syncing, which I felt was needed because I hadn't yet had one.


The next shot cuts to a shot of the car headlights. I've edited this to comply with the rule of thirds because the actor is in the middle of the lights.


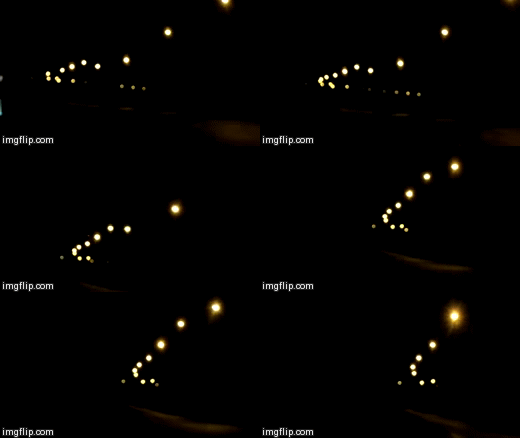
This long shot is purposely out of focus to capture the street lights as though it's being looked at through an eye that's watering.


This long to medium shot features an extended version of one jump cut shot from earlier in the video.


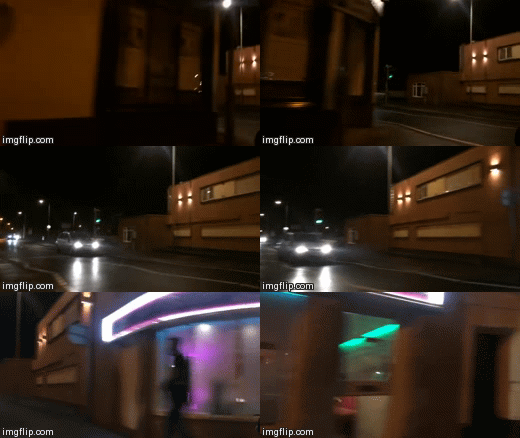
This is the second and last pan of the video and slows down before a car, which I thought suited the video, then more establishing after the junction.


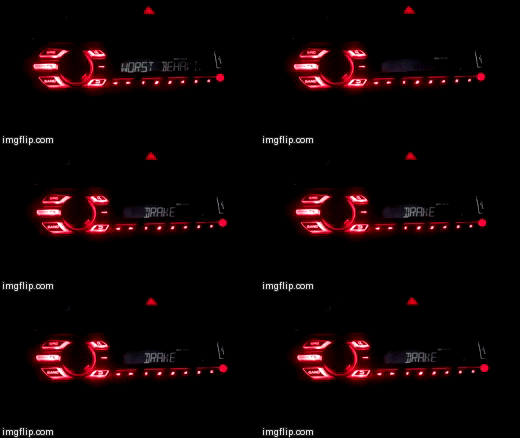
The last shot of my video is a close up of yet another car, this time the stereo as it cycles from the name of the artist, Drake, and the song, Worst Behaviour.